The First-Time Convention Organizer's Complete Checklist
Last updated: April 2026. This article is for informational purposes only. Statistics and third-party features referenced may have changed since publication. Terms apply.
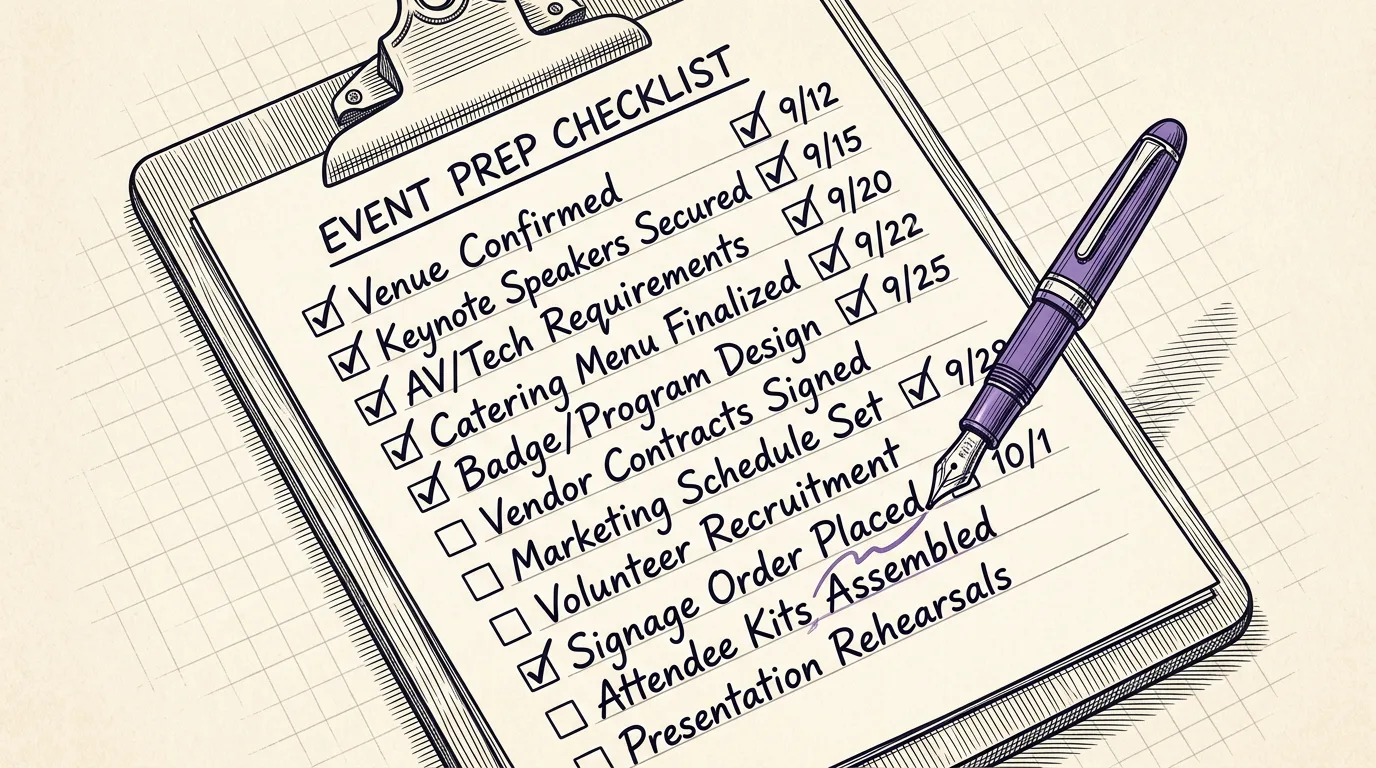
Running your first convention is one of the most exciting -- and daunting -- projects you can take on. Whether you are launching a fan convention, a trade expo, or a community gathering, the sheer number of moving parts can overwhelm even experienced event professionals. This checklist walks you through every phase of planning, from the earliest conceptual decisions to the moment you lock the doors on the final day.
1. Define Your Vision and Budget
Before you book a single venue or invite a single guest, sit down and answer the foundational questions. What kind of convention are you building? Who is your target audience? What will make people drive hours (or fly across the country) to attend?
Start by writing a one-paragraph mission statement. It sounds corporate, but it will save you from scope creep later. "A two-day pop culture convention in the Pacific Northwest for 2,000-3,000 fans, featuring celebrity panels, vendor hall, cosplay contest, and family-friendly programming" is a clear guardrail. When someone suggests adding a concert stage or a food truck festival, you can measure that idea against your mission.
Next, build a realistic budget. Your largest line items will typically be:
- Venue rental (often 25-40% of total budget)
- Guest appearance fees and travel (highly variable, from $0 for local panelists to five or six figures for major celebrities)
- Marketing and advertising (plan for 10-15% of budget)
- Insurance (general liability is non-negotiable)
- Technology and infrastructure (ticketing platform, mobile app, Wi-Fi, AV equipment)
- Staffing and volunteer support (t-shirts, meals, supplies)
Build in a contingency of at least 15%. Something unexpected will happen -- a guest cancellation, a last-minute AV rental, weather that forces a layout change. That buffer is not optional.
2. Venue Selection
Your venue sets the ceiling on almost everything else. Start searching 12-18 months before your event date, especially if you are targeting a convention center or large hotel.
Key factors to evaluate
- Capacity and layout flexibility. You need separate spaces for panels, a vendor hall, photo ops, registration, and common areas. A single ballroom rarely works unless your event is very small.
- Loading dock and freight access. Vendors need to get their inventory in. If the only access is through a narrow hallway and a single elevator, your setup day will be a nightmare.
- Wi-Fi and power infrastructure. Convention Wi-Fi is notoriously terrible. Ask specifically about dedicated bandwidth, access point density, and whether they can support 2,000+ simultaneous devices. Many convention centers charge extra for usable Wi-Fi -- budget for it.
- Proximity to hotels and transit. Attendees who have to drive 30 minutes from their hotel to your venue will attend fewer sessions and leave earlier.
- Catering exclusivity. Many venues require you to use their in-house catering, which can be expensive. Understand this before you sign.
- Union labor requirements. Some convention centers require union labor for any setup involving electrical, rigging, or booth construction. This can add thousands to your budget.
Visit the venue in person. Walk the space with your floor plan in mind. Stand in the farthest panel room and imagine an attendee trying to find it with no signage. That walk will reveal problems a floor plan PDF never will.
3. Guest Booking
Guests drive ticket sales. For fan conventions, your headliner announcements are often the single biggest factor in whether someone buys a ticket. Start your outreach 9-12 months before the event.
Build a tiered guest strategy:
- Headliners (1-3 guests) -- these are the names that sell tickets on their own. They have the highest fees and the most complex logistics (handlers, green room requirements, scheduling restrictions).
- Mid-tier guests (5-10) -- recognizable names that add depth to your lineup without breaking the budget. Often the best ROI.
- Community guests and panelists (10+) -- cosplayers, podcasters, authors, industry professionals. Many will attend for free or for a table and hotel room.
For every guest, lock down these details in writing: appearance fee, travel and hotel arrangements, schedule availability, photo op and autograph session details, and cancellation terms. A guest management system that tracks all of this centrally -- rather than scattered across email threads -- will save your sanity.
4. Vendor Recruitment
A strong vendor hall is often cited as the highlight of a convention by attendees. Open vendor applications 8-10 months before the event.
Design your vendor application to collect:
- Business name and description
- Product category (art, merchandise, vintage collectibles, crafts, food)
- Table/booth size preference
- Electrical needs
- Special requirements (wall placement, corner booth, proximity to competitors)
Price your booth space competitively for your market. Research what comparable conventions in your region charge. Offer early-bird discounts to fill your floor early, which gives you something to promote ("80% of vendor hall already sold!"). Consider tiered pricing based on location -- booths near the entrance or along main traffic corridors command a premium.
Create a vendor packet that includes load-in/load-out times, venue rules, parking information, and a map showing their assigned location. The more information you provide upfront, the fewer questions you will field in the weeks before the event.
5. Volunteer Management
Most conventions cannot afford to hire enough paid staff to run the event. Volunteers are essential -- and managing them well is one of the most underestimated challenges in convention planning.
Open volunteer applications 4-6 months before the event. Be transparent about what volunteers get in exchange for their time: free entry, a t-shirt, meals during their shifts, and sometimes a small stipend or exclusive perks. Set clear expectations about shift length and responsibilities.
Common volunteer roles include:
- Registration desk and badge checking
- Panel room monitors (timing, crowd control, mic runners)
- Wayfinding and information desk
- Guest handler and green room support
- Line management for photo ops and autographs
- Setup and teardown crew
Build shifts that are 4-6 hours with breaks. Longer shifts burn people out. Shorter shifts create too much turnover and constant retraining. Use a shift management tool that lets volunteers pick their preferred times and roles -- it dramatically reduces no-shows compared to assigned schedules.
6. Ticketing Setup
Launch ticket sales as early as possible, ideally immediately after your first major guest announcement. Early ticket revenue provides cash flow for deposits and gives you data on expected attendance.
Ticket types to consider
- Single-day passes for each day of the event
- Full-weekend passes at a discount over individual days
- VIP packages with early entry, exclusive panels, reserved seating, or meet-and-greet access
- Kids/family bundles if your event is family-friendly
- Photo op and autograph add-ons sold alongside general admission
Use a ticketing platform that integrates with your check-in system. If someone buys a ticket online and you are manually checking names against a printed spreadsheet at the door, you have already failed the registration experience. QR code-based check-in is the baseline expectation.
Set up promo codes for sponsors, media, and early supporters. Track which codes drive the most sales -- that data is invaluable for next year's marketing.
7. Mobile App Configuration
A dedicated mobile app is no longer a luxury for conventions. Attendees expect to pull up the schedule, check a map, and find out who is appearing -- all from their phone.
Your app should include at minimum:
- Full event schedule with room locations, guest names, and real-time updates
- Interactive venue map with zoomable detail and labeled points of interest
- Guest profiles with bios, photos, and linked appearances
- Push notifications for schedule changes, special announcements, and emergency alerts
- Vendor directory with booth locations and descriptions
- Personal schedule builder so attendees can bookmark sessions
Populate your app content at least two weeks before the event so attendees can plan ahead. But keep the ability to make real-time updates -- room changes, guest cancellations, and surprise additions are inevitable.
8. Marketing Timeline
Marketing is not a single campaign. It is a sustained drumbeat over months. Here is a general timeline:
- 12 months out: Announce the event. Establish your website, social media, and mailing list. Tease the concept.
- 9 months out: Announce first headliner guest. Open early-bird ticket sales.
- 6 months out: Announce additional guests and major programming. Push vendor applications. Start social media advertising.
- 3 months out: Reveal the schedule. Promote VIP packages. Partner with local media and podcasts.
- 1 month out: Final push. Share behind-the-scenes content. Announce last-minute guest additions. Remind about the mobile app.
- 1 week out: Practical posts: parking info, venue maps, what to bring, how to download the app. Build excitement with countdowns.
Email marketing consistently outperforms social media for ticket sales. Build your list from day one and send regular (but not spammy) updates. Every email should have a clear call to action -- usually "Buy Tickets."
9. Day-Of Operations
The convention itself is a 10-16 hour marathon each day. Your preparation here determines whether the event feels professional or chaotic.
Registration and check-in
Open registration at least 30 minutes before programming starts. Have separate lines for pre-registered (QR code scan) and walk-up purchases. Staff this area heavily -- a long registration line is the first impression attendees get, and it sets the tone for the whole event.
Command center
Set up a central operations room (not accessible to the public) where your core team coordinates. This is where you monitor attendance numbers, handle emergencies, communicate with guest handlers, and make real-time schedule adjustments. A group communication channel (walkie-talkie app, Slack channel, or radio) for all department heads is essential.
Signage and wayfinding
You cannot have too much signage. Every hallway intersection needs a directional sign. Every panel room needs a sign showing the current and next session. Print a large-format schedule and post it in the main lobby. Even with a mobile app, many attendees rely on physical signage.
Emergency preparedness
Know the venue's evacuation routes. Brief your volunteers on what to do during a medical emergency, a fire alarm, or a security incident. Have a first aid station staffed or on-call. Keep the venue's security team in your communication loop.
10. Post-Event
The convention ends, but your work does not. Within 48 hours:
- Send a thank-you email to all attendees with a feedback survey
- Post highlights on social media while the excitement is fresh
- Collect data: total attendance, ticket revenue, app downloads, popular sessions
- Hold a debrief with your core team -- what worked, what did not, what to change
- Send thank-you notes to guests, vendors, and sponsors
- Start a document capturing lessons learned while they are fresh
If you plan to run the event again next year, announce the dates as soon as possible. Your attendees are at peak enthusiasm right after the event -- capture that momentum.
Ready to streamline your event?
Confanum brings your schedule, guests, vendors, volunteers, ticketing, and mobile app into one platform so you can focus on building a great convention instead of juggling spreadsheets.
Schedule a DemoEvent Volunteer Management: From Recruitment to Day-Of
Build a volunteer program that keeps your convention running smoothly and brings people back year after year.
5 Proven Ways to Increase Vendor Revenue at Your Convention
Practical strategies to help your vendors sell more -- which means they will return next year.
How a Mobile App Transforms Attendee Engagement at Events
Why a dedicated event app is no longer optional for conventions of any size.